
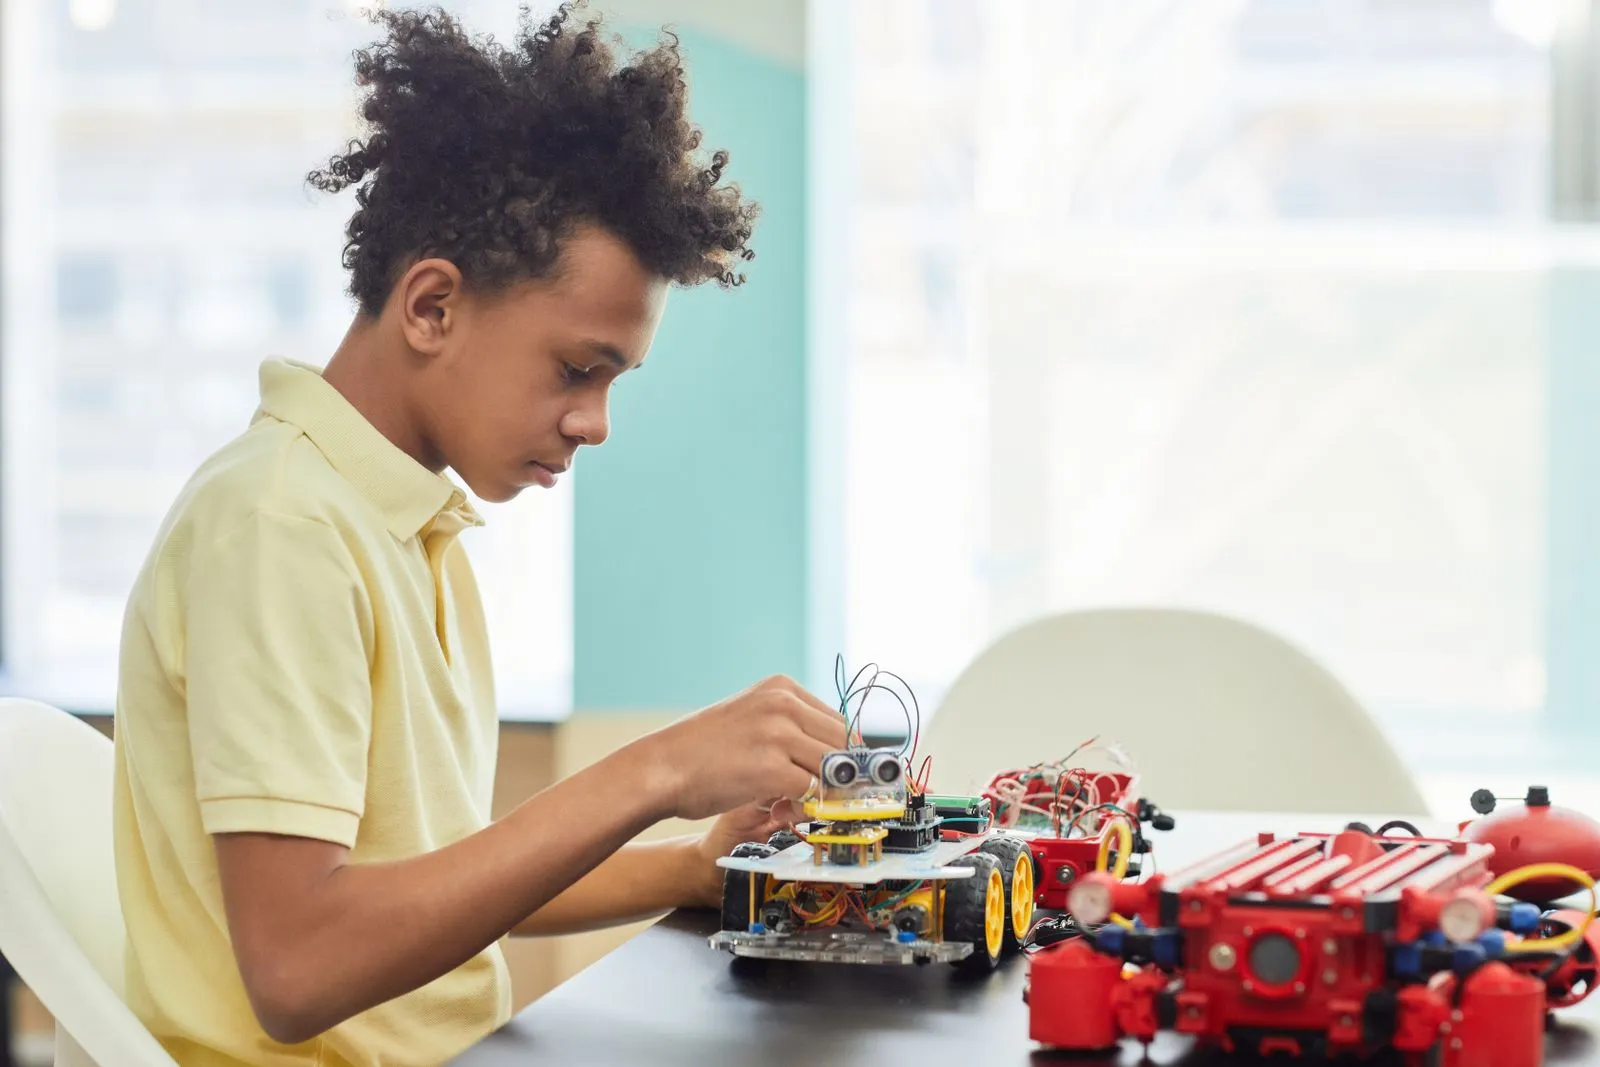
Robotics gives young people a hands-on way to turn questions into working solutions. A first project does not need advanced parts or complicated code: a moving toy, a simple sensor task, or a robot that follows a route can teach planning and persistence. Choose a project that fits the learner’s age, tools, and experience. Then leave room to test, make mistakes, and improve the design together.
Start With a Moving Robot
Build a small wheeled robot that moves forward, turns, and stops. A beginner robotics kit can provide a chassis, motors, wheels, and a simple controller. Before building, ask learners to sketch the robot and predict how changing wheel placement or body weight might affect its movement. That small design step gives them a reason to compare their plan with the finished machine.
Start with block-based coding or the kit’s built-in controls. Have the robot travel between two marked points, then adjust its movement when it veers off course. Encourage learners to change one thing at a time, such as motor speed or turning duration. This makes testing easier to understand and helps them see coding as a way to give clear instructions, not just a set of commands.
Make a Line-Following Challenge
A line-following robot uses sensors to detect a dark path on a light surface, or the reverse. Create a simple route with tape on cardboard or a smooth floor, and begin with broad curves. Learners can position the sensors, program the robot to respond to what it detects, and observe where it loses the route. The challenge combines careful construction with cause-and-effect thinking.
Once the robot can manage a basic path, add a gentle curve or a junction. Ask the team to predict how the robot will respond before each run. If it misses a turn, have them check sensor placement and code conditions rather than rebuilding everything at once. Keep the course consistent during tests so learners can tell whether a change actually helped.
Build a Helpful Sensor Device
A sensor project can solve a small everyday problem. For example, learners might make a device that lights up when an object gets close, or sounds an alert when a container is nearly full. Use a beginner kit with a distance or light sensor, and choose a task that can be demonstrated safely at a table. Have the group agree on what the device should detect and how it should respond.
Break the project into steps: connect the sensor, read its input, set a threshold, and trigger an output such as a light or buzzer. Test with objects at different distances or under different lighting. Ask learners to note when the device responds too early or too late, then adjust the setup or code. This introduces useful troubleshooting while keeping the goal concrete.
Make Teamwork Part of the Build
A shared robot project works best when everyone has a clear way to contribute. Rotate roles such as builder, coder, tester, and note-taker, and switch roles during the project. The builder can explain mechanical choices, while the tester records what happened and the coder makes a targeted change. These responsibilities help quieter learners take part and keep one person from doing every task.
End each session with a short review: What worked? What surprised the team? What will they try next? Keep a simple log with sketches, code changes, and test results. This record helps learners pick up where they left off and explain their decisions. For an added challenge, invite another team to try the robot and offer observations without taking over the design.
Begin with a small goal, use materials suited to the learners, and treat each test as useful information. Moving robots, line-followers, and sensor devices all offer chances to practice design, coding, and collaboration. Pick one idea and adapt it to your group’s interests. Park City Ag Robotics can help local families explore hands-on robotics learning.